How to use Midea AC with Home Assistant
May 20, 2023
I'm not really one for "smart" things, but I enjoy sinking hours into technical projects for questionable ROI. Let's get started!
Midea didn't show up in the built-in integrations list, so after some quick searching, I found Midea AC LAN which looked promising. The integration supports turning the AC on/off, setting the operation mode, setting the target temperature, the fan mode, and perhaps more, but I didn't go beyond the basics.
My main motivation to do this was to compare the ambient temperature to the target temperature over time, to see how well the AC worked and at what points we felt the need to turn it on. I wanted to see if there were any sensors in the AC I could observe, since the only data point on the AC itself is the target temperature. The Midea Air app exposes the ambient temperature reading from the AC, but I thought putting it into Home Assistant and being able to control the AC from there would be novel and fun.
Prerequisites
Your AC will need to be connected to your LAN for this to work. Consult your manual for instructions. Unfortunately you will likely need to download the Midea Air app and create a Midea account.
Once your AC is on the same LAN as Home Assistant, you can get going.
Download HACS
My first step was to add Home Assistant Community Store (HACS) to Home Assistant. From what I gather, it's a community repository of integrations that can be added directly from HA.
This isn't required, since Midea AC LAN can be installed manually, but this is how I did it.
# see https://hacs.xyz/docs/setup/download
cd path/to/homeassistant/config
wget -O - https://get.hacs.xyz | bash -
Configure HACS
- Clear your browser cache/hard refresh so that HACS shows up as an integration
- Go to Home Assistant Integrations
- Add HACS and log in with GitHub
Add the Midea AC LAN integration
- Go to HACS → Integrations via the left navigation
- "Explore & download repositories" and find for Midea AC LAN
- Download Midea AC LAN
- Restart Home Assistant to load the new custom component
Add your AC to Home Assistant
- Go to Settings → Devices & Services
- Add the Midea AC LAN integration
- Assuming your AC is on the network, add your device using the available methods (I used Auto and it worked)
Configure the Midea AC LAN integration
By default, a Climate entity will be created. However, there are several other sensors that can be added as entities, which were exactly what I was looking for.
- In Integrations, click Configure on the Midea AC LAN integration.
- A dialog will appear to configure extra entities; choose the sensors and controls you would like to be available in Home Assistant.
I selected all the entities (though the energy/power ones didn't seem to work) and none of the controls.
Add your AC to your dashboard
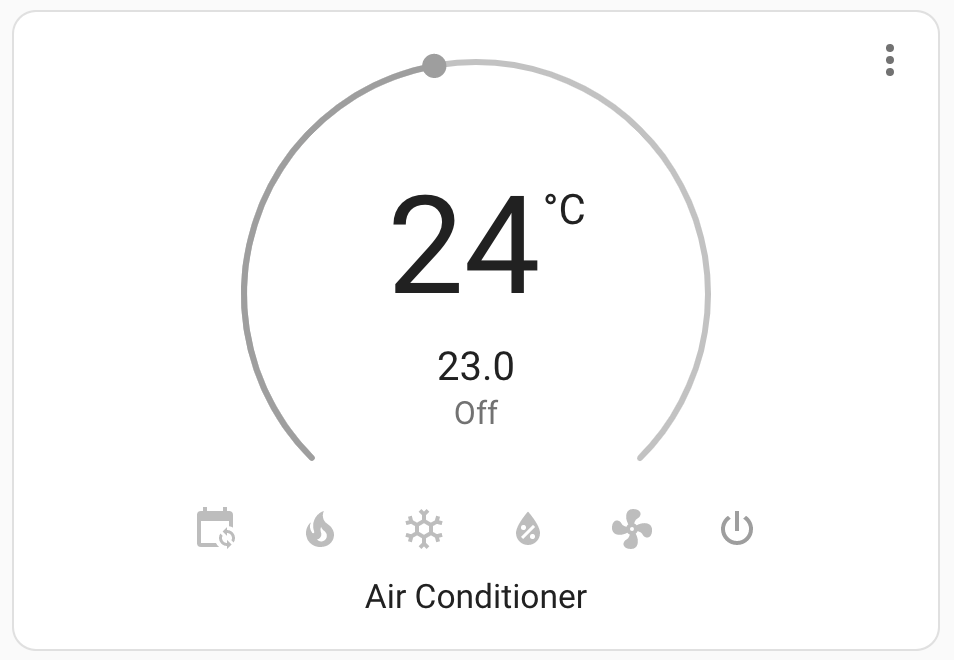
At this point, some AC entities may have appeared on your dashboard if you're using the auto-generating one. If not, edit a dashboard, and add a Thermostat card.
You'll now be able to monitor and control your AC from Home Assistant.
Monitoring
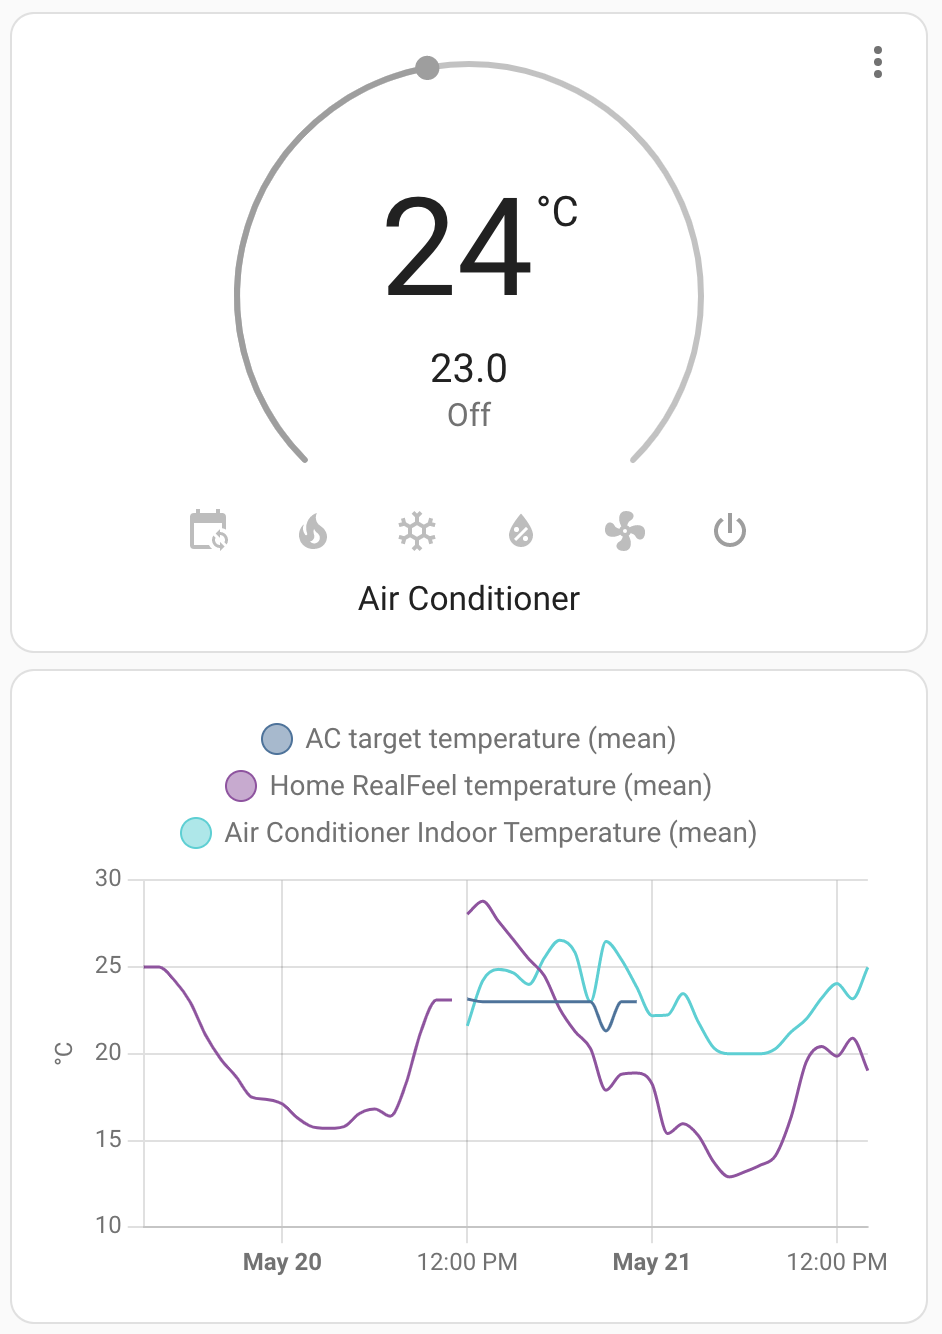
To set up tracking of the temperature values that I initially wanted, I created a Statistics Graph card to display the values over time.
Ambient temperature
For ambient temperature, I added the indoor temperature entity from the air conditioner integration. As you will see, there is a minimum, mean, and maximum value reported; I suspect these are calculated based on several readings that happen in a given time period.
Target temperature
However, there is no provided target temperature statistic. To get this value, we need to create a template entity which will return the value of our Climate entity's target_temperature property.
Add this to your configuration.yaml:
# see https://www.home-assistant.io/integrations/template/
template:
  # see https://developers.home-assistant.io/docs/core/entity/sensor
  - sensor:
      - name: "AC target temperature"
        unit_of_measurement: "°C"
        # Get your Climate entity ID from Entities
        state: '{{ state_attr("climate.air_conditioner", "target_temperature") | float(0) }}'
        state_class: measurement
        device_class: temperature
Restart Home Assistant to reload your configuration, or do it from the web UI.
Outdoor temperature
To add the outdoor temperature to the mix, I'm using the AccuWeather integration. You'll need to follow the instructions to set it up, but once that's done, a "RealFeel temperature" entity is created that you can add to your graph.
The final product
After all that, we can control our AC from Home Assistant and track temperatures over time. Neat!
Bonus
I found it difficult to differentiate the colours used for the chart, and at the time of writing it doesn't seem that you can customize them. I found ApexCharts Card, which is also available through HACS, to be a good alternative.
